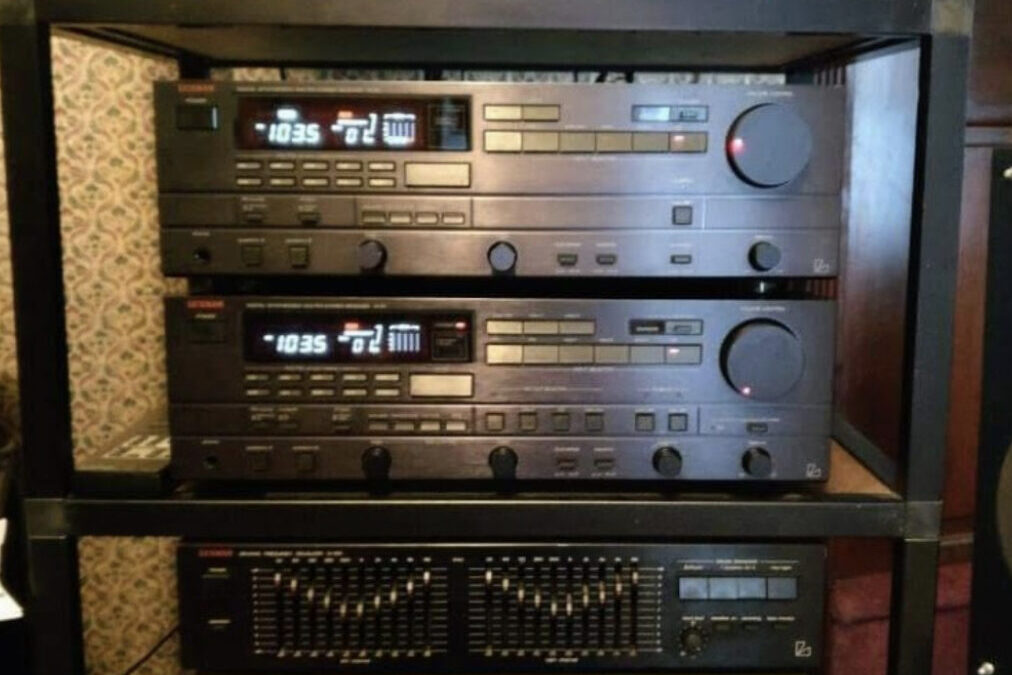
Written and edited in collaboration with an EZTube customer who used square tubes and square tube connectors to build a DIY stereo rack and speaker stands for his home audio system.
If you’re an audiophile who treasures the timeless beauty of high-end audio equipment—brands like Luxman, Onkyo, Nakamichi, Pioneer, Kenwood, McIntosh, and Sansui, all of which quite literally brings music to my ears—then you know that equipment performance and placement go hand in hand. I worked with EZTube to design and build a custom stereo rack for my home audio system and found that EZTube’s modular square tubing system is the perfect solution for building custom stereo racks, speaker stands, and more to showcase and support your prized gear.
Why Choose EZTube for Your Stereo Rack?
EZTube’s 110 square aluminum tube is designed to hold 3/4″ panels of any material. I decided to use 3/4″ plywood with rubber padding for vibration isolation. I stained the plywood in a dark veneer to add an elegant touch commensurate with the equipment which dons it. I ordered my 110 square tube in matte black to match the sleek black color of my TOTL Luxman R-117 stereo receiver, which many audiophiles regard as one of the greatest stereo receivers ever built. The matte black tubes also matched my Luxman M-117 power amplifier, which was sold as the M-03 internationally. The M-117 and M-03 are similarly regarded in the audio community as absolute legends, so it was only fitting that all of my equipment was well supported. I ordered all of my square tube connectors in black to match the understated and elegant aesthetic. By using square tubing and square tube connectors, I created a structure that is not only sturdy but also customizable to suit the dimensions of my audio components. With the ability to integrate any 3/4-inch panels from materials like wood, glass, or acrylic, you too can design a rack that securely supports your equipment, reduces unwanted resonance, and looks visually stunning.
Key Features of EZ Tube Square Tubes and Square Tube Connectors:
- Black Powder-Coated Tubes: The sleek black finish perfectly complements classic equipment like the Luxman R-117 receiver and M-117 power amp, creating a professional and cohesive aesthetic.
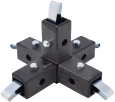
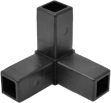
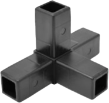
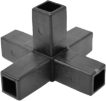
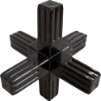
- Square Tube Connectors for Every Design: I used a combination of three-way corner connects for the bottom and top of my stereo rack, and four-way connects for each shelf.
- Customizable Design: Adjust shelf heights and panel materials to suit the exact dimensions of your components. For example, my Denon dual cassette deck and Onkyo equalizer needed less space than my massive Luxman R-117 and Luxman M-117 amps—EZ Tube cut everything to my specifications!
- Vibration Dampening: I drastically reduced wow and flutter for my Pro-Ject Debut Carbon EVO turntable by incorporating dampening materials like rubber pads between the frame and panels.
- All-in-One Solution: The square tubes and composite square tube connectors fit together seamlessly and create a sturdy structure which highlights the audio equipment and keeps it safely in place.
How to build a DIY stereo rack
Here’s how I built my own stereo rack and speaker stands out of EZ Tube aluminum square tubes. It was an extremely easy and straightforward process!
Materials Needed
Square tube for 3/4″ panels and 3/4″ thick inserts
EZ Tube 110 Extrusion Tubing supports 3/4″ panels for a flush and polished finish and are available in satin silver anodized, black powder-coated aluminum, gloss white, and custom colors to match your equipment. My setup looks great in all black, and more modern stereo equipment may be more suited to gloss white.
Square Tube Connectors
Select three-way, four-way, or five-way connectors based on your design and shelving requirements. You may want either a wider or taller design based on your space. One-way connectors can be used as feet.
3/4-Inch Panels
Choose wood for warmth, glass for elegance, or acrylic for a modern look.
Rubber Isolation Pads and Leveling Feet
EZ Tube leveling feet can compensate for uneven surfaces and can be mounted to the bottom of any shelf, rack, or structure. Place the rubber isolation pads under the panels for further vibration reduction.
Assembly Instructions
- Plan Your Layout: Measure your audio equipment to determine the dimensions of each shelf. I made sure to leave a bit of clearance between each shelf and my equipment to ensure adequate airflow and cooling.
- Assemble Your Frame: Connect the square tubing using EZ Tube square tube connectors to create a sturdy base and build accordingly. Assemble with ease using a soft-faced mallet or by gently tapping together on a solid surface. Ensure the frame is level by tightening all connectors securely and adjusting the leveling feet, if your environment requires them
- Add Panels: Insert 3/4-inch panels into the 110 extrusions. These panels will act as shelves for your equipment.
- Install Optional Vibration Dampening: Use rubber isolation pads between the panels and tubing to absorb vibrations.
- Position Your Equipment: Place heavier equipment, such as integrated amps and power amps, on the lower shelves to stabilize the structure. Use cable management to keep wiring neat and avoid interference.
Why Vibration Reduction Matters
Turntables like the Pro-Ject Debut Carbon EVO are particularly sensitive to vibrations. Excess vibrations can lead to distortion, increased wow and flutter, and overall degraded sound quality. A well-designed rack using EZTube’s modular system can isolate equipment from external vibrations, ensuring your turntable performs at its best. Audiophiles often recount tales of placing turntables on makeshift racks only to experience uneven playback. By incorporating isolation pads and sturdy materials, EZTube racks eliminate these issues, providing a stable and vibration-free environment for optimal audio performance.
Then I did the same thing for my speaker stands!
My EZ Tube stereo rack project extended beyond discreet components. I placed my vintage Sansui and ADS L880 speakers on custom EZ Tube stands to enhance their sonic excellence. Proper speaker placement is critical for achieving the best sound imaging and bass response, and EZTube provides the stability and height customization needed to optimize your listening experience.
Additional Construction Applications
EZTube’s versatility doesn’t stop at stereo racks. You can use the system to build speaker stands, shelved racks for closets, modular building frames, and so much more.
Conclusion
Building a custom stereo rack with EZTube allows you to elevate both the form and function of your high-end audio equipment. The modular design, customizable panels, and sleek finish make EZTube the ultimate choice for audiophiles looking to showcase their gear while ensuring peak performance.
Ready to build your own rack? Start your project today by visiting EZ Tube’s website or order metal online from an official distributor and explore their wide range of products.
